
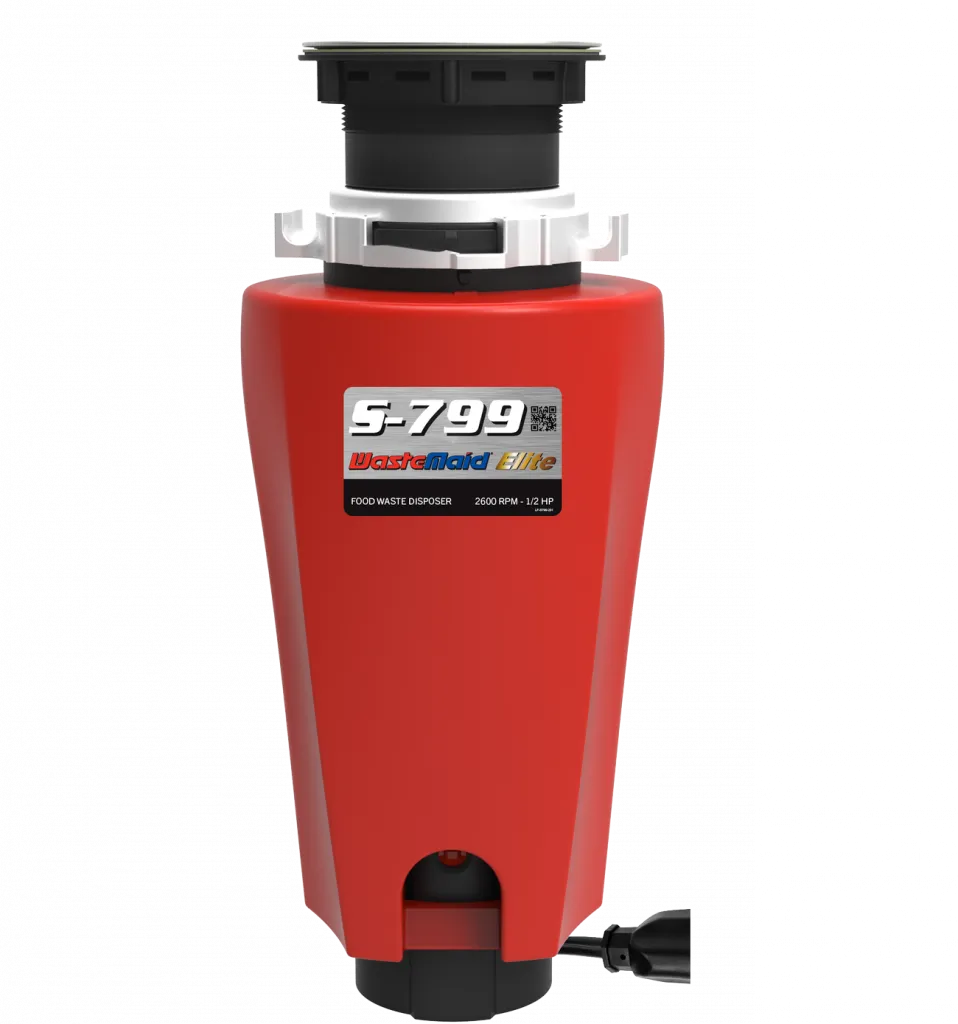
Thinking about a waste disposal unit but worried about fitting it? This guide covers everything you need to check before you buy: sink size, space under the sink, electrics and plumbing. It then walks through how a Waste Maid fits, based on Waste Maid’s own fitting instructions. A waste disposal unit is sometimes called a garbage disposal or food waste disposer; they’re the same thing.
Quick checklist: will a waste disposal unit fit my kitchen?
- Sink waste hole: every Waste Maid fits a standard 90mm (3½”) sink waste opening, the same size as most UK kitchen sinks.
- Space under the sink: measure from the underside of the sink to the floor of the cupboard. Heights vary by model, for example the S-599 is 354mm tall, the S-899AS is 409mm and the 1785BF batch feed is 430mm. Allow extra room for the trap below the outlet.
- Cupboard width: the slim S-699 fits a 500mm base unit. The 1785BF batch feed is the only batch feed unit that comfortably fits a 600mm base unit with a bowl-and-half sink.
- Power: every model needs an under-sink power socket.
- Switch: standard continuous feed models need a fused spur switch above the worktop. “AS” models have a counter-top air switch built in, so no wall switch is needed. Batch feed models start when you put the stopper in, so they need no switch at all.
- Waste pipe: the unit connects to your sink waste pipe through a trap, just like a normal sink.
- Dishwasher: Waste Maid units have a dishwasher connection, so your dishwasher can drain through the disposer.
Which switch do I need?
| Type | Models | What you need |
|---|---|---|
| Continuous feed, wall switch | S-599, S-699, Classic 258, 358, 458 | Under-sink socket plus a fused spur switch above the worktop (or add a wireless control switch) |
| Continuous feed, built-in air switch | S-799AS, S-899AS, S-999AS, S-1099AS | Under-sink socket and a hole in the sink or worktop for the air switch button. No wall switch. |
| Batch feed | 1785BF | Under-sink socket only. It runs when the stopper is in place. |
If you need a new socket or fused spur, have it fitted by a qualified electrician. Fitting a disposer to your existing sink waste usually isn’t building work, but moving the sink or changing drainage pipework can be.
How a Waste Maid is fitted: step by step
Always follow the instructions supplied with your unit. Waste Maid’s Elite S-Series uses the quick Speed Master threaded mounting; the Classic range uses a cushion mount. The basic steps are the same:
- Turn off the power and remove the existing sink waste.
- Look before you take it apart: Waste Maid says to note how the cushion mount sits on the sink flange before removing the flange. Refitting it the same way avoids problems later.
- Fit the sink flange into the sink hole. Use the rubber gasket on stainless steel sinks, or plumber’s putty on other sinks. Do not use silicone sealants on the top side of the sink it will damage the rubber seal, only use sealant on the underside if your sink is not stainless steel, if it has a rough surface like on a composite sink.
- Under the sink, fit the fibre gasket, support ring and mount ring. On the Classic range, the lip of the sink flange must sit in the groove inside the cushion mount, and the mount ring should turn freely.
- Hang the disposer: line up the hopper projections with the slots in the mount ring and turn about ¼ turn so the unit is held in place.
- Line up the outlet with your waste pipe and trap.
- Lock it: turn the mount ring until it locks. Waste Maid stresses that proper locking is essential to stop leaks.
- Connect the waste pipe and trap, and the dishwasher hose if you have one (see your manual for the dishwasher inlet).
- Fit the switch (air switch button or wall switch) and plug the unit into the under-sink socket.
- Test: run the cold tap, switch on, and check every joint for leaks.
Using your waste disposal unit
Run the cold tap at a medium flow, switch on and scrape the food waste in. When it’s finished grinding, keep the water and disposer running for about 25 seconds to flush everything through, then switch off. Never pour cooking fat, oil or grease down the sink. It’s the main cause of blocked drains, with or without a disposer. A monthly clean with Glisten waste disposer cleaner keeps it fresh, and a Mr Scrappy tool helps clear the chamber safely.
Choose your Waste Maid
Read our best waste disposal unit UK buying guide or see today’s waste disposal unit deals. Not sure which model suits your kitchen? See our Waste Maid waste disposal units page, which compares every model. All are genuine, sent from stock with fast tracked UK delivery. Still unsure? Email us a photo of your sink and the cupboard underneath, and we’ll help you choose.